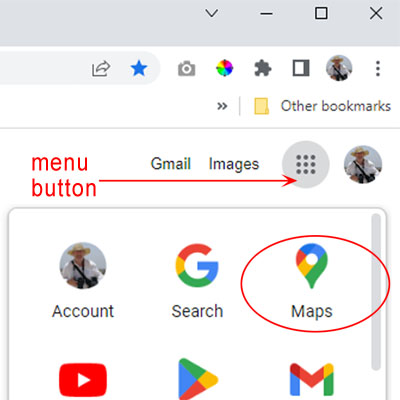
Log into your Google Account, go to Google home page, click menu and click maps.
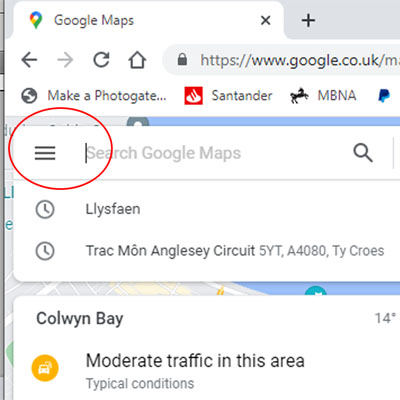
From the maps page click on the “burger” menu.
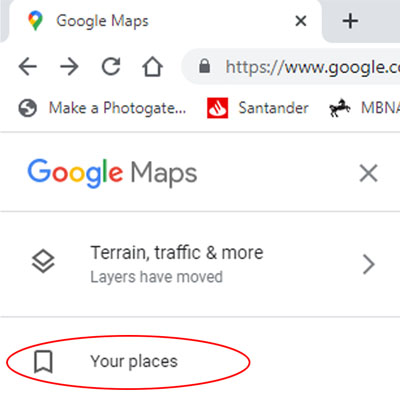
From the options listcd click on the Your Places icon.
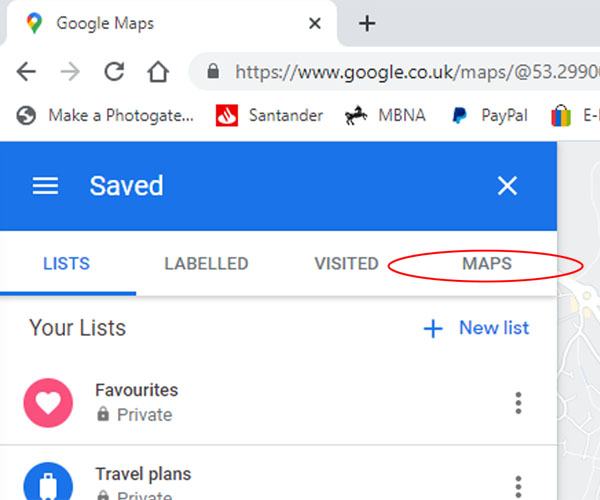
From the Your Places screen click on Maps.
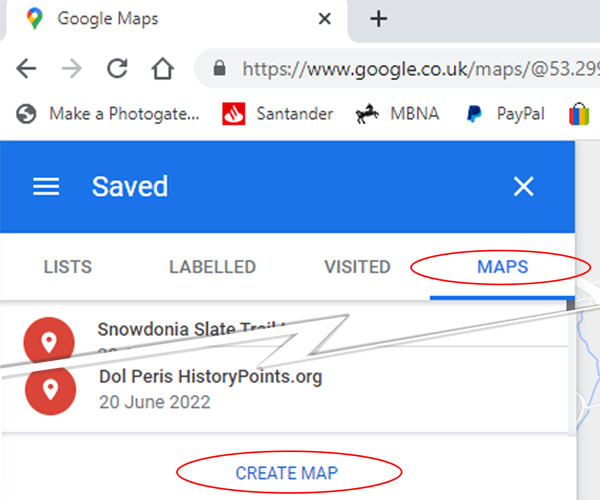
At the bottom of your list of existing maps, click the link to Create Map.
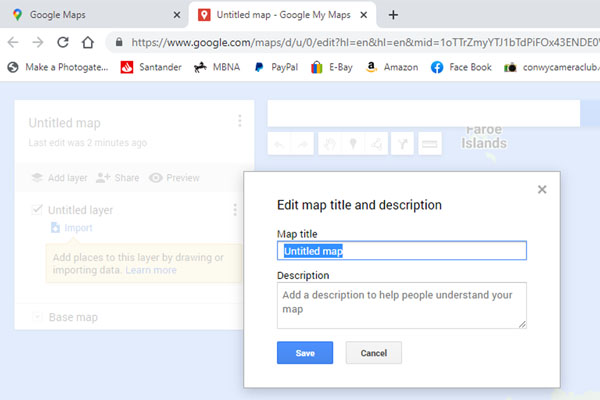
This dialogue appears top-left in your new map. Click the link that says Untitled Map. In the box (shown open here) give your map a meaningful name.
Then add all relevant info regarding the map, what it’s for etc plus dates and other details if it’s for a one off event.
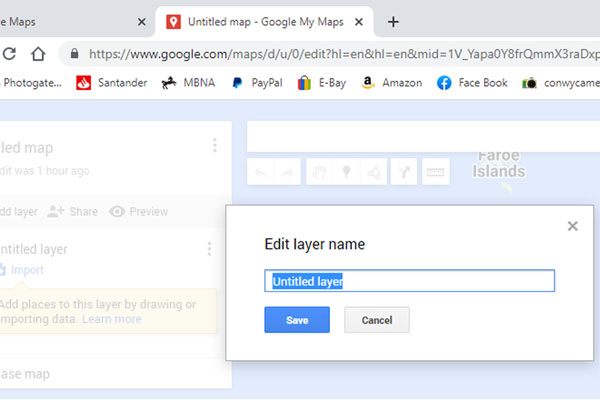
Next click on Untitled Layer and give your layer a name. Something like “Locations Detailed On This Map”. This will be shown above your list of the pins you add to your map.
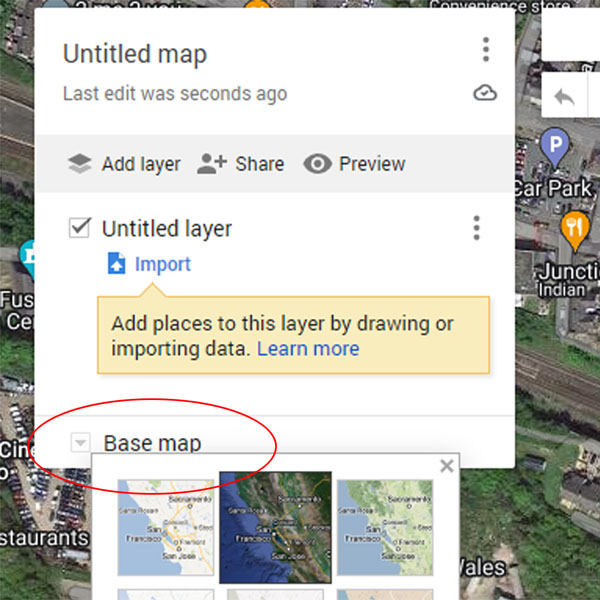
You also need to consider the type of map you want to create.
To do this click the small arrow next to the words Base Map.
You will be presented will all manner of map formats. Personally I prefer to use Satellite View as I think it’s much easier for the viewer to relate to rather than the usual street map approach.
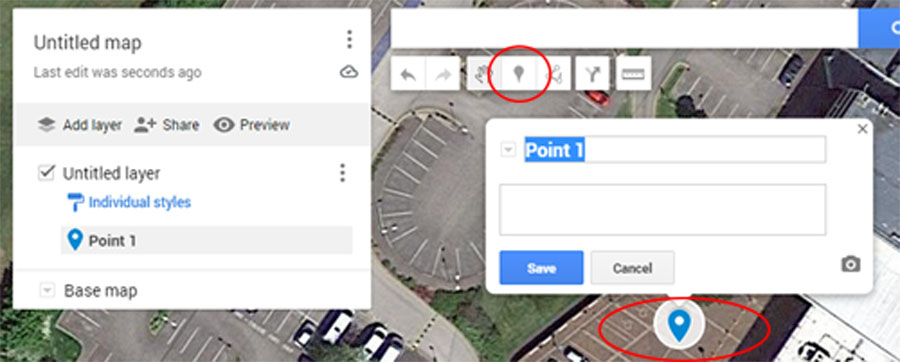
Now to the important bit. Adding your place marker (or markers). Click the pin icon in the middle of the menu and then click on the map where you want the pin to be shown. This will immediately open a box where you need to give the pin a meaningful name (where it’s shown as Point 1). In the box below enter any info you can about this particular place. All this information will be shown in the sidebar on the left of the map page when the viewer clicks the pin.
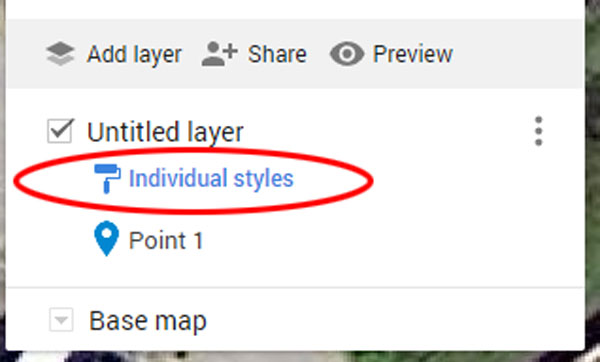
If you click on the Individual Styles link you will be pressented with two sets of options.
Group Places by:
Uniform style (all pins look the same)
Sequence of numbers (pins are shown as numbers)
Individual styles (every pin can be different)
Style by data column (only for complex layouts)
Set Labels:
No labels (only the pin is displayed)
Name ( best option, clear concise, useful)
Description (usually makes pin messy, too much).
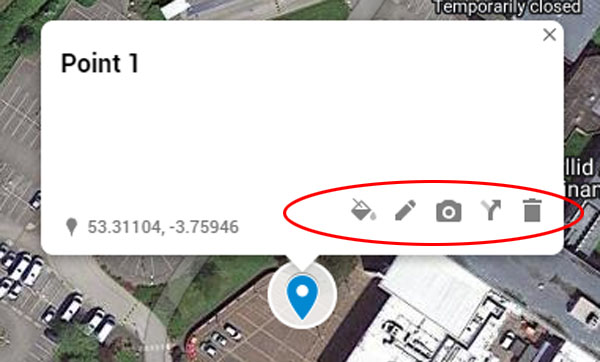
Once you’ve saved a pin, you can choose to customize it in a number of ways. See the menu in the red ellipse above.
Paint bucket: Click this to see available colours for your pin, or change the style completely by choosing any on of many preformatted icons.
Edit: Click this to edit the pin title or data shown in the info box.
Camera: Click to add an image to the pin data. Image shows in left side bar when user clicks the pin.
Directions: To go the extra mile for your user give them directions to the location of the pin.
Trash Can: Feel free to delete the pin and it’s date and start again.
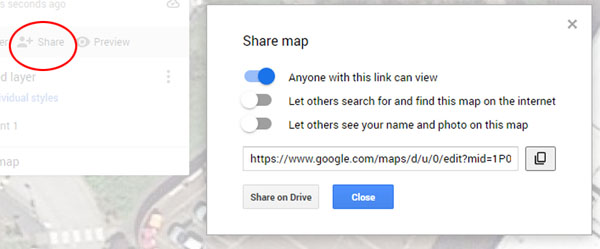
The last thing you need to do is decide who you want to give access to when you publish your map. The options are pretty obvious when you look at them but generally, if you are producing the map for a select number of individuals (club members) all you really need is to select is the line “Anyone with link can view”.
To copy the link, to share the map, click the two little squares to the right of the box where the link is displayed. The link is now copied to your clipboard ready to sharing via e-mail etc.