By: Tanya Liepins
If you fancy trying something more creative with your Photography, a great way is to give ICM (intentional camera movement) a try.
It can add a soft ethereal, dreamy abstract look to your images or the illusion of dynamic movement, and isn’t that difficult to achieve. It is basically achieved by moving your camera either vertically or horizontally, or zooming and you can even do rotation during a long exposure.
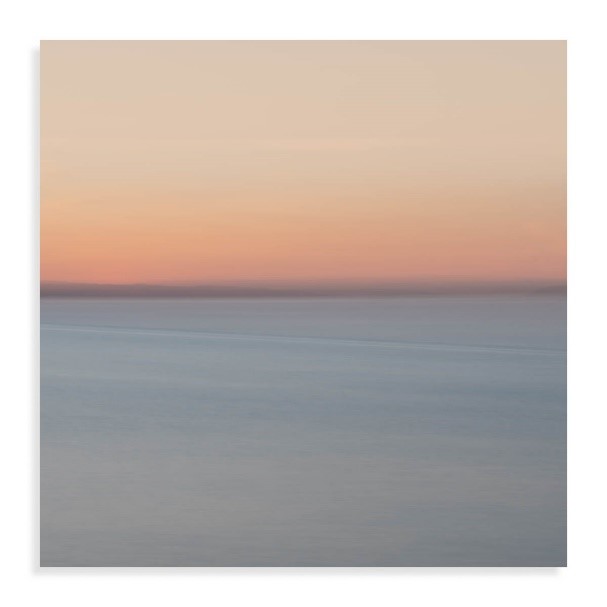
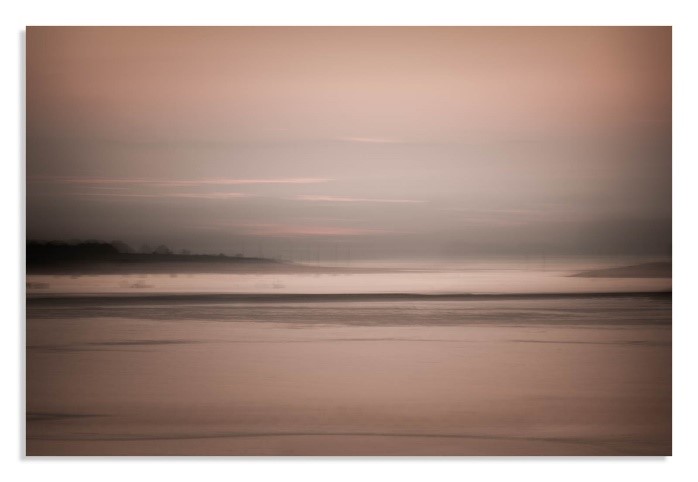
There are many ways to apply Intentional Camera Movement to your photography but there are no hard fast rules, and you can experiment to see what subjects you like to use it on and which methods you prefer. Personally, I like it for seascapes and sunsets and it works well in woodlands too.
METHODS
STRAIGHT LINE MOVING
Moving your camera either vertically or horizontally seems to be the most popular way to achieve ICM, this can be done hand-held, or for more precision (the way I prefer) by using a tripod. So long as you can move your tripod head you can do it, using a ball head or 3-way pan and tilt head. You can intensify the strength of the blur across your image by slowing down the movement of the camera and decreasing shutter speed to allow for this.
This method works best on places with natural lines and differences in tone and colour
ZOOMING
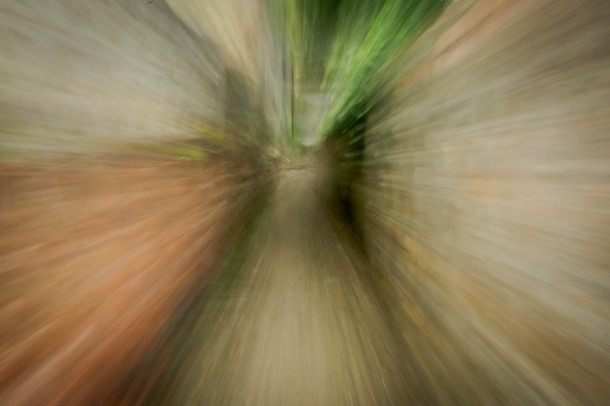
To use this method, you do need to have a variable focal length lens like 24-70mm or the kit lens that came with your camera so long as you can zoom with it. I find that zooming from the widest focal length to the narrowest and back again works well and you can vary the speed at what you zoom dependant on your shutter speed. But again, this is entirely up to the author of the image and you will find what you prefer, it can give the look of moving at speed if doing it down a street or through a pathway in a wood.
ROTATION

Rotation is as it implies, and its simply holding the camera and rotating it in a circular motion to achieve a spiral effect.
SUBJECTS FOR ICM.
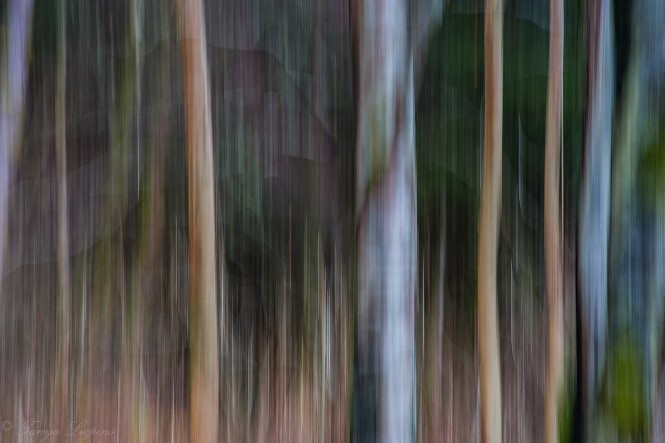
- Trees, I find vertical movement for trees particularly effective, rather than moving horizontally. Rotation also works well when looking up at trees
- City scapes where there are bright lights.
- seascapes.
- Sunset’s sunrises
TECHNIQUE BASICS, HOW TO DO IT.
This is just a basic explanation of how each of the methods can be executed, I’m no expert, and your creativity plays a big part. But as you practice them you will find one thing doesn’t work on a particular subject or that a faster shutter speed works better or slower movements.
EQUIPMENT
- Tripod with ball head or 3-way tilt pan head.
- ND (neutral density filter) 3, 6 or 10 depending on lighting conditions, during daytime you will probably need a 6 or 10 but for sunsets/sunrises for example a 3-6 will be adequate and as the sunsets/rises aperture can be adjusted to get the shutter speed you with to use and its possible to do this without ND filters but using them can give you more flexibility and creativeness.
- Zoom lens if wishing to do the Zooming method.
STRAIGHT LINE MOVEMENTS
An exposure of around ¼ of a second can be used and is good for woodland scenes but I usually use anything from between 5 to 10 seconds, dependant on how much movement I wish to create. Just remember you need to give yourself enough time to make the movements. Also, if using a wide-angle lens, the wider you move it you will get a bowing (curve) in your image.
A technique I often using is mixing static and moving, for example I set a shutter speed of 10 seconds and then move from side to side for 5 seconds then still for 5 seconds. This is good if there is something static in your shot like groynes but again it takes practise
If hand holding, find your starting point and try and visualise where you want to move to in the scene, either vertically or horizontally. Then simply use controlled sweeping motion up and down or side to side until your exposure has ended. Obviously, these can be fast or slow movements and depend on the length of your shutter speed or the amount of effect you wish to achieve and you can only really tell by experiments and trying various ways. be warned when 1st doing it you will have more images for the bin than keepers but your bound to have some that stand out and are keepers.
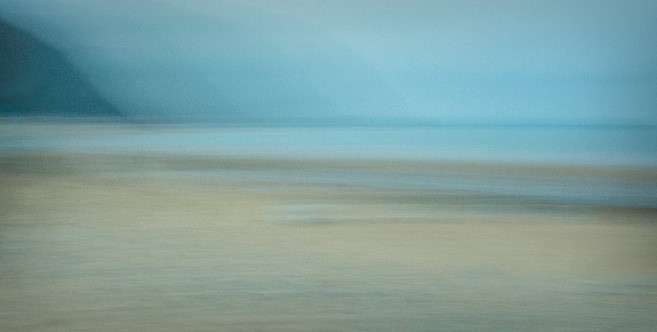
For those that like straight lines and precision I recommend using a tripod as you can be much more controlled and precise with your movements and by using the tripod you eliminate having wavy lines. This works well with beach scenes where you have the various lines of colours and tones created by the land, sand sea & sky. Be aware if trying to do vertical movement that include sky you can often get vertical lines of light that doesn’t look to good, so may be better to eliminate the sky from your composition.
ZOOMING
This can either be achieved hand held or for more precision on a tripod. Again ensure to allow yourself enough time for the zooming of the lens
For this you’ll not be moving the camera, but will instead be moving your zoom lens. The effect works best with a strong central subject, one that you’re going to zoom in.
- Select a central subject for the photo. It should not be too large. So, a person, statue, or small building will work well.
- Now zoom into the final focal length you’re going to photograph. You need to pre-focus your lens at this focal length.
- Adjust the shutter speed to around 1/20th of a second. Or slower if you want to do a slower zoom
- hit the shutter and zoom into your subject. Slow the zooming in down as you approach the max focal length of the zoom burst. Doing so makes the main subject sharper.
Shooting zoom burst photos from a tripod is an excellent option to keep the camera steady. Doing so creates cleaner blur lines.
ROTATION
Imagine there’s an axis that runs from your camera lens through your camera sensor. You need to rotate your camera around this imaginary axis and try to keep the motion as smooth as you can. long exposure times aren’t suitable, so keep it to around 1/20th.
This technique will usually be handheld, pick a central subject and by doing this method and by focusing on the subject in the middle you can achieve a subject that is mainly sharp however there will be a circular blur round the outside of it.
Hope those of you interested find this useful.
Tanya