Once you have successfully built the rig and uploaded the sketch to the Arduino (using the Arduino IDE software), there are still a few things you are going to need before you can start firing your speedlights. This list is not exhaustive but a lot of the items detailed are essential.

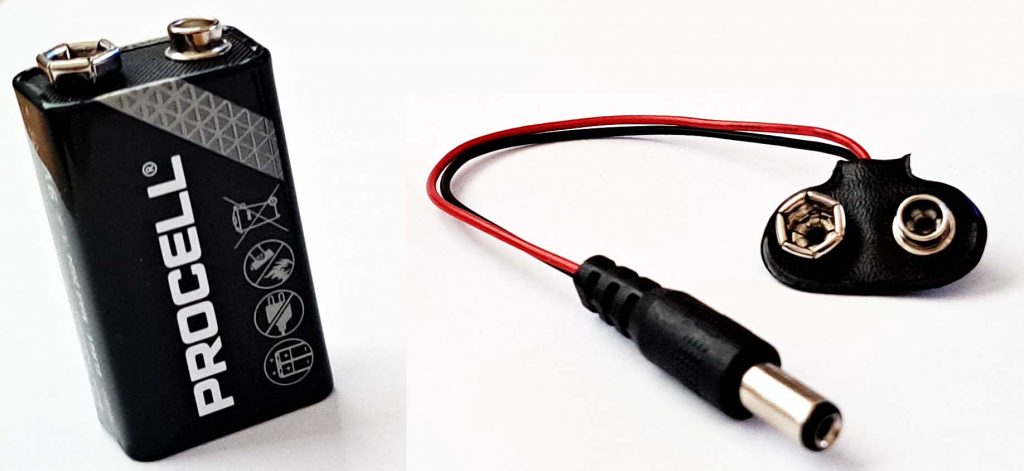
Power Supply I find the most convenient way to power the rig is with a 9V battery and clip on cable (inc’ 5.5mmx 2.1mm jack) like this

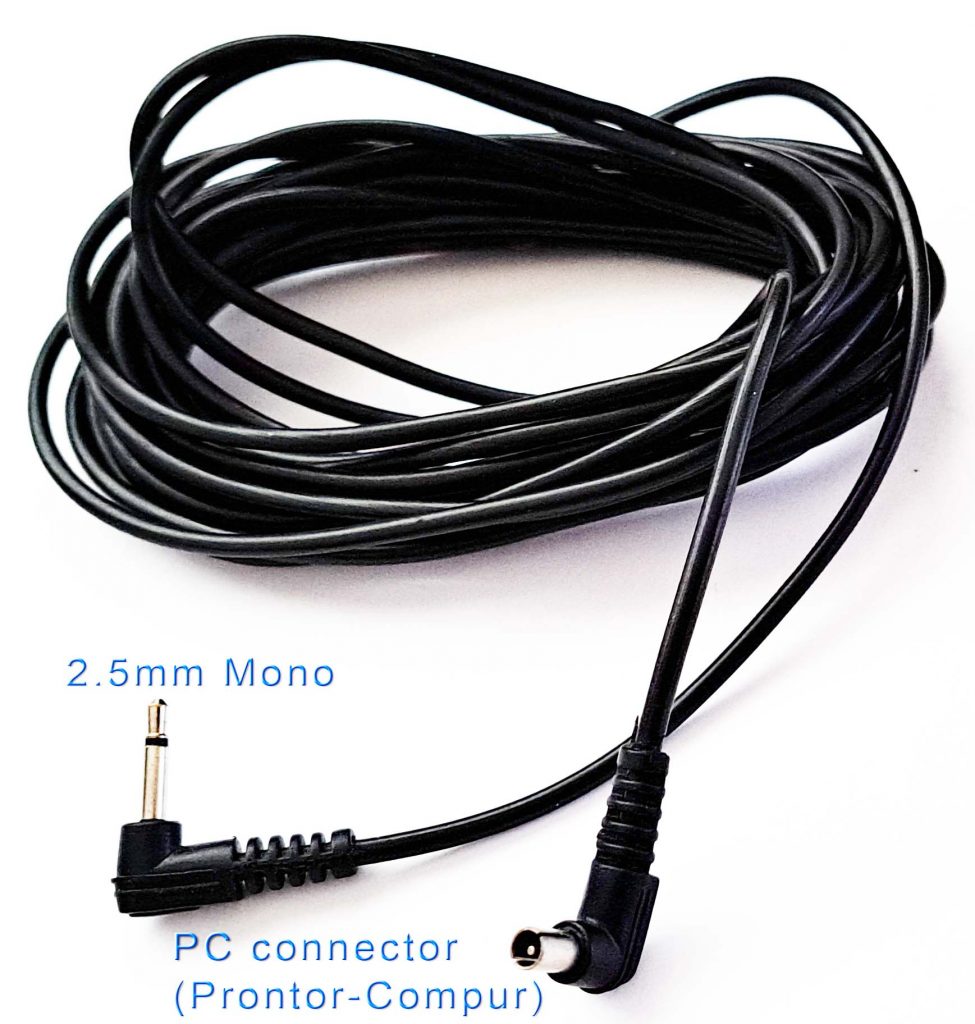
Flash Sync Cable As you will be shooting with the flash off-camera you will need a sync cable to connect the speedlight to your flash trigger (2.5mm mono jack into your Arduino rig, PC jack into your speedlight).

Piezo Vibration Sensor Arguably the most important part of the whole set up.
You need to buy a quantity of these things. See here. Why “a quantity?” Because the soldered joints to the wire tails are very weak and tent to break off if not handled with care. If the outside wire (black) comes off you can solder it back in place. If the inside connection fails, just chuck it in the bin.
I use DuPont ribbon cables for my leads (between sensor tails and rig) inc DuPont connectors (as per pic). However if you go down this route you’ll not only need the ribbon cable but also a male/female connectors kit and a DuPont crimp tool. If this is a one off for you just use a piece of bell wire (or any two core flex) and 2A terminal block connectors. You will also need a 2.5mm mono jack on the other end so you can plug the sensor into the sensor port on your rig.
Soldering. Whatever you choose to use as a soldering iron you are going to need a small tip. I find the best solution is a 2mm chisel tip as this gives sufficient contact for fast heat transfer yet is small enough for use on small components.